It's here! It's here! I finally had time to start my Tutorial Tuesday series.
Today I'll show you how to peel a pineapple. Please bear in mind that when I first learned this, I had to learn to do it with a machete! I'm glad the knives I get to use have gotten less rustic.
Supplies: Cutting board on a secure surface (place a towel under it if it slides on the counter)
Fresh Pineapple
Large flexible serrated knife (a bread knife works well)
A paring knife
 |
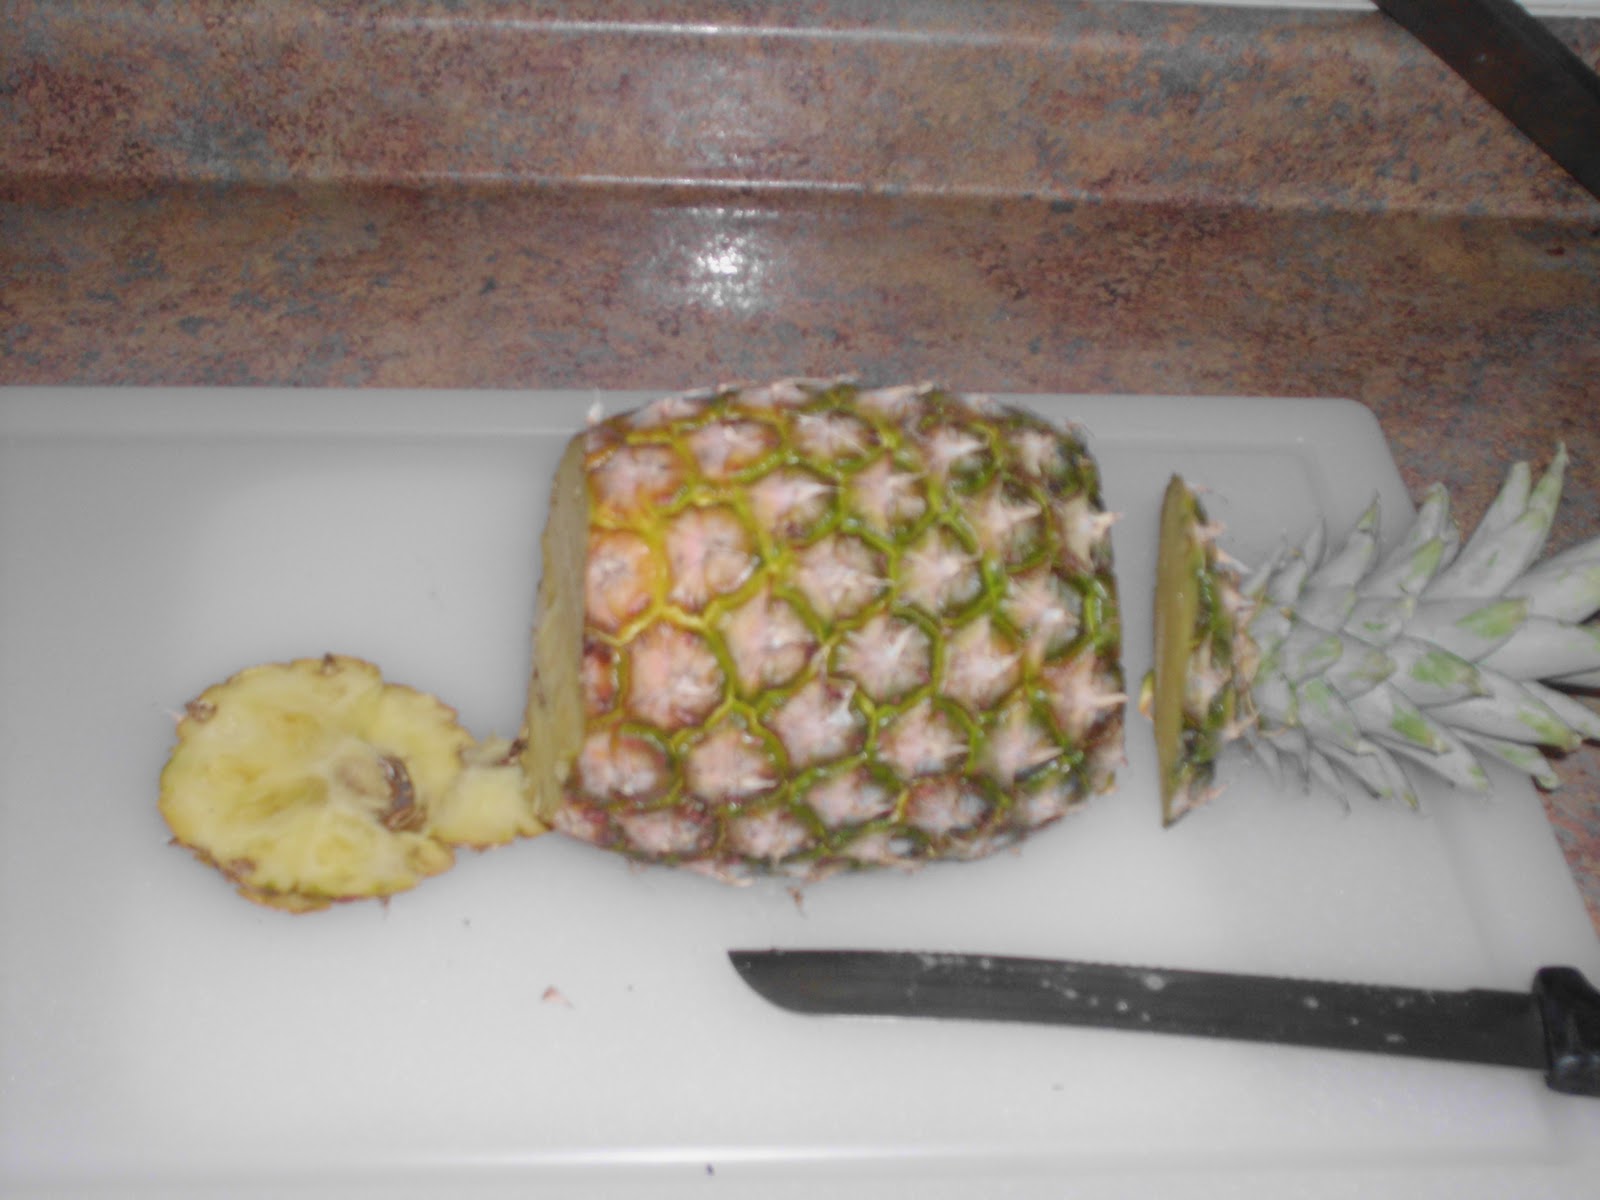
| Basic terminology: The spiky green leaves are the "crown". The scales are the "eyes". The "stem" end is the area where the pineapple was cut away from the plant. The "core" is a fibrous center stalk that runs through the pineapple. |
 |
| Step 1: Lay the pineapple on its side, with the crown facing the right. If you are left-handed, you might find it easier to place the crown to the left. |
 |
| Step 2: Using the serrated knife, cut across the pineapple, a half an inch below the crown. |
 |
| Step 3: Cut the bottom off the pineapple, approximately 1/2 inch above the stem end. |
 |
| Step 4: Turn pineapple upright onto the stem end. Begin slicing the peel off the pineapple from top to bottom. This is where having a flexible knife comes in handy, allowing you to follow the curve of the fruit. Turn the fruit as you continue peeling the skin off. |
 |
| Step 5: Lay the pineapple on it's side. Those brown spots are the "eyes" and where where the scales grew out of the fruit. They are edible, although the texture leaves a lot to be desired. If you don't mind the texture of the eyes, you can skip ahead to Step 7. |
 |
| Step 6: Begin slicing the "eyes" off with a paring knife.. Hint- "eyes" grow in a diagonal line on a pineapple. Rather than slicing each eye off individually, slide your knife under multiple eyes at a diagonal angle. |
 |
| A pineapple that has had all the "eyes" removed. Notice the diagonal slicing. |
 |
| Step 7: Slice the pineapple in half. (You may have some trouble slicing through the core.) |
 |
| Step 8: Slice the fruit into spears. Slice around the core to do this. (The core is edible and contains a lot of juice. However, I don't eat my cores. I freeze them for juicing later.) In this picture, the core are the two pieces on the bottom and the spears are the top pieces. |
 |
| Step 9: Slice fruit into chunks. |
 |
| Step 10: Move to storage vessel of choice and eat happily. |


No comments:
Post a Comment
Thanks for stopping by! I'd love to hear from you-